
Knowing how to plan a bathroom remodel is all about creating a solid game plan before the first tile is ever ripped out. Think of it as your project's blueprint—a detailed roadmap that takes your vision from a collection of ideas into a concrete, actionable plan.
This is the stage where you set goals, figure out your budget, gather inspiration, and get a handle on the sequence of events. Honestly, a detailed plan is your single best defense against the common culprits of renovation stress: surprise costs and frustrating delays.
Starting Your Remodel with a Clear Roadmap
Jumping into a bathroom remodel without a plan can feel like you're trying to solve a puzzle in the dark. A good plan, however, turns that maze into a clear, manageable path. This is the foundation of your entire project, where you decide if you're doing a simple cosmetic refresh or a full-blown, down-to-the-studs gut renovation.
Don't mistake this initial phase for just picking out pretty tile and paint swatches. It's about getting crystal clear on what you need the space to do for you. A well-planned project is the difference between getting the bathroom you dreamed of and one that's full of compromises and budget overruns.
First, Define Your Project Goals
Before you start calling contractors or pinning a hundred images, take a moment and ask yourself: what’s the real goal here? What problem am I trying to solve? Your answers will become the guiding principles for every single decision you make down the line.
- Is it about functionality? Maybe you’re desperate for more storage, need a double vanity to survive the morning rush, or want to replace that old tub you never use with a spacious walk-in shower.
- Is it purely aesthetics? Are you dreaming of a modern, spa-like escape, a timeless traditional look, or something more unique and personal?
- Is it about home value? Is this a long-term investment in your forever home, or are you making strategic updates to boost resale value before listing?
A thoughtfully remodeled bathroom does more than just look good. It genuinely elevates your daily routine and adds real, tangible value to your home. It’s an investment in both your property and your quality of life, which is why it’s one of the most rewarding home improvement projects you can tackle.
See the Project in Phases
It helps to break down the overwhelming idea of a "remodel" into a series of smaller, more digestible phases. While we’ll get into the nitty-gritty of each one later, the journey almost always follows this path: goal-setting, budgeting, design and material selection, hiring pros, and finally, construction.
The global bathroom remodeling market was valued at USD 398.1 billion in 2024 and is expected to hit USD 412.8 billion in 2025. Those numbers show a huge shift in how we see our homes—bathrooms aren't just utilitarian spaces anymore; they're essential investments. You can read more about the growth of the bathroom remodeling market to see the trend. This just goes to show how critical a well-executed plan is for maximizing your own return on investment.
Think of this guide as your starting line for a renovation that feels exciting and in your control, not chaotic and stressful.
Aligning Your Vision With a Realistic Budget
Before a single hammer swings, every successful bathroom remodel starts by marrying two crucial elements: your dream design and your real-world budget. This is where your vision gets its price tag, and honestly, it’s the most critical planning step.
Getting this right from the start saves you the headache of discovering that your dream walk-in shower costs as much as your entire initial budget. The first move is to get really clear on the scope of your project. Are we talking about a simple cosmetic refresh—new paint, fixtures, vanity hardware—or a full-gut renovation that involves moving walls and rerouting plumbing?
From Pinterest Board to Action Plan
It's time to gather your inspiration, and yes, that means creating a visual mood board. This isn't just a fun exercise; it’s a powerful tool for communicating your exact style to a contractor or designer. Platforms like Pinterest and Houzz are fantastic for collecting images, but don't stop there. I’ve found some of my best ideas looking at design blogs, architectural magazines, and even boutique hotel bathrooms.
Once you have a good collection going, start looking for the common threads. What keeps popping up?
- Color Palette: Are you consistently pinning light and airy whites, moody charcoals, or maybe a pop of vibrant color?
- Fixture Finishes: Do you find yourself drawn to the warmth of brushed brass, the modern edge of matte black, or the timeless appeal of polished chrome?
- Tile Choices: Notice if you're saving photos of large-format porcelain, intricate mosaic patterns, or classic subway tile.
This process helps you distill a hundred different ideas into one cohesive design direction. It turns a vague concept like "modern spa" into actionable details like "a floating double vanity, large-format gray tile, and a curbless shower with a linear drain."
The goal here is to move from broad inspiration to specific choices. A clear vision doesn't just guide your material selections—it helps contractors provide much more accurate and detailed quotes right from the beginning.
Building Your Line-Item Budget
With your design vision taking shape, it's time for the numbers. A vague budget is a recipe for overspending, so we need to get granular. The best approach is a detailed, line-item budget that accounts for every potential expense. This is where you truly learn how to plan a bathroom remodel effectively.
Don't just lump everything under "materials" and "labor." Break it down into clear categories to gain real financial control.
Here’s a sample budget breakdown to give you an idea of how the costs are typically distributed in a mid-range project.
Sample Bathroom Remodel Budget Breakdown
| Expense Category | Percentage of Total Budget | Example Cost (for a $15,000 project) |
|---|---|---|
| Labor | 40-50% | $6,000 - $7,500 |
| Vanity & Countertop | 15-20% | $2,250 - $3,000 |
| Fixtures (Toilet, Sink, Faucets, Tub) | 10-15% | $1,500 - $2,250 |
| Tile & Flooring | 10-15% | $1,500 - $2,250 |
| Lighting & Ventilation | 5-10% | $750 - $1,500 |
| Permits & Design Fees | 3-5% | $450 - $750 |
| Accessories & Finishes | 2-5% | $300 - $750 |
Of course, these percentages can shift based on your specific choices, but this table provides a solid starting point for allocating your funds. To get a better sense of how these costs add up in the real world, you can learn more about the average cost of a bathroom remodel and see how professionals break down the numbers.
The Non-Negotiable: Your Contingency Fund
Here’s a piece of advice I give every single client: always, always include a contingency fund of 15-20% of your total budget. This isn't "extra" money to play with; it's a dedicated buffer for the inevitable surprises that pop up once the walls are opened.
What does a contingency fund actually cover?
- Hidden Water Damage: Like that rotted subfloor you discover under the old toilet.
- Outdated Plumbing: Finding old galvanized pipes that must be brought up to current code.
- Electrical Gremlins: Uncovering unsafe, ungrounded wiring that requires a professional fix.
- Material Shortages: Needing to order one more box of tile only to find the price went up.
Without this fund, a single unexpected issue can derail your entire project or force you to compromise on the finishes you really wanted. Think of it as project insurance. If you’re lucky enough not to use it, you'll have a nice surplus at the end. But if you need it, you’ll be incredibly glad it’s there.
Laying Out the Space and Picking Your Finishes
Okay, now for the fun part. With a vision in your head and a budget on paper, you get to play designer. This is where you map out the physical layout and choose the tiles, fixtures, and finishes that will define your new bathroom. It’s a constant balancing act between looks, practicality, and cost.
One of the first, and biggest, decisions you'll make is about the plumbing. Do you stick with the current footprint, or do you move things around? Keeping the toilet, sink, and shower in their existing spots can save you thousands of dollars. But sometimes, a total reconfiguration is the only way to get the open, functional layout you're dreaming of.
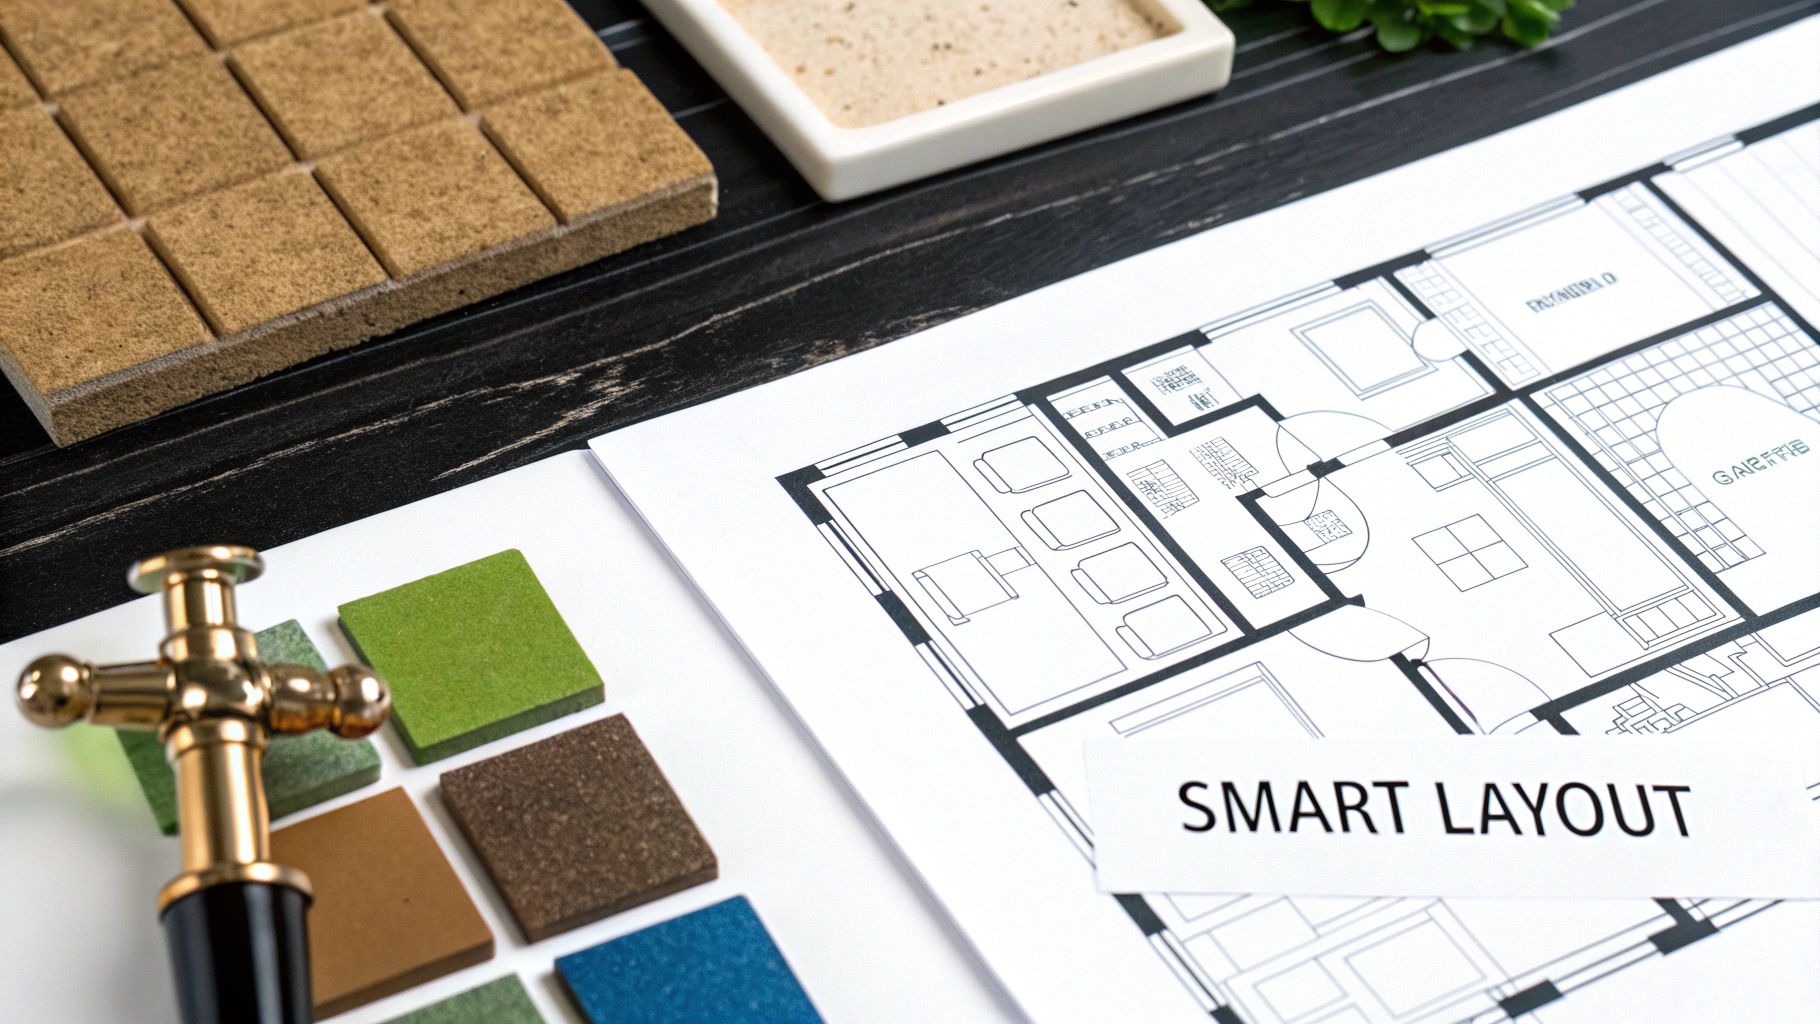
Getting the Bathroom Layout Right
The layout is the very foundation of your bathroom's functionality. A good floor plan feels natural and spacious. A bad one can make even a large room feel awkward and frustrating. The trick is to think about your daily routine—how do you actually use the space?
In a smaller bathroom, every single inch counts. This is where clever design choices can make a world of difference.
- Wall-Mounted Fixtures: Floating a vanity or toilet off the ground is a classic designer trick. By revealing more floor space, you create an illusion of a much larger room.
- Curbless Showers: Removing the curb for a seamless, walk-in shower is another game-changer. It visually expands the room and adds a touch of modern luxury.
- Pocket or Barn Doors: A standard swinging door eats up a surprising amount of floor space. Switching to a door that slides into the wall or along a track can free up that valuable real estate.
Don't overlook the small details. I’ve seen projects where the new door swings right into the vanity, or the toilet is so cramped you can barely sit down. These little things are what separate a decent layout from a truly great one.
Choosing Materials That Are Beautiful and Built to Last
Picking materials for a bathroom isn't just about what looks good on a mood board. This is a high-moisture, high-traffic zone. Your choices for flooring, countertops, and fixtures have to withstand humidity, daily use, and cleaning chemicals. Getting this right is a huge part of learning how to plan a bathroom remodel that you'll love for years.
Homeowner feedback consistently reveals that material choices are a major source of long-term satisfaction or regret. Choosing porcelain tile over ceramic, for instance, provides greater durability and less chipping, while large-format tiles reduce grout lines, making cleaning significantly easier.
Flooring: The Foundation of Your Design
Your bathroom floor takes a beating. It has to be waterproof, slip-resistant, and tough.
- Porcelain Tile: There's a reason this is the go-to choice. It's incredibly dense, completely waterproof, and available in endless styles, including surprisingly realistic wood and stone looks. For shower floors, I always recommend smaller tiles or a textured finish for better grip.
- Luxury Vinyl Plank (LVP): This is a fantastic, and often more budget-friendly, alternative. LVP is 100% waterproof, feels warmer underfoot than tile, and is a breeze to install. It's an excellent choice if you have kids or just want the look of wood without the worry.
Vanities and Countertops
The vanity is usually the bathroom's main focal point. A stock, pre-made vanity is a great way to save money, but a custom build lets you maximize every inch of storage in a tricky space. When it comes to the countertop, durability is key.
| Countertop Material | Pros | Cons |
|---|---|---|
| Quartz | Non-porous, stain-resistant, highly durable, and low maintenance. | Can be more expensive than other options; seams can be visible. |
| Granite | Very durable, heat-resistant, and offers unique natural patterns. | Porous and requires periodic sealing to prevent stains. |
| Marble | Unmatched in beauty and elegance with a classic, high-end look. | Soft, porous, and prone to scratching and staining; requires sealing. |
Fixtures and Finishes
Think of your faucets, showerhead, and hardware as the jewelry of the room. The finish you pick—matte black, brushed brass, polished chrome—really sets the tone. But beyond style, invest in quality. A well-made faucet with solid brass guts and ceramic disc valves will give you a long, leak-free life.
And please, don't forget the little practicalities. That giant rain showerhead looks incredible, but is it what you want for a quick rinse when you're not washing your hair? Here's a pro tip: have your plumber install the shower handle where you can reach it from outside the shower. It’s a common oversight, but nobody enjoys getting blasted with cold water just to turn it on. Getting these details right is what makes a new bathroom a joy to use, not just to look at.
Finding and Partnering with the Right Contractor
You've got the vision, the plans, and the perfect tile picked out. Now comes the single most important decision of your entire bathroom remodel: choosing the contractor who will bring it all to life.
This isn't just about hiring a crew; it's about forming a partnership. The right pro will make the difference between a smooth, successful project and a stressful, budget-busting nightmare.
It can be tempting to tackle a bathroom remodel yourself to save a few dollars, but this is one area where experience truly pays off. The numbers don't lie. For 2025, spending on professional-led kitchen and bath remodels is projected to jump 2.9%, while DIY growth is expected to be a mere 0.6%. It’s clear that homeowners are increasingly placing their trust—and their money—with skilled professionals. You can see more data on why homeowners are choosing professionals for these complex jobs.
Sourcing and Vetting Potential Contractors
Okay, so where do you find this magical contractor? Your goal is to build a shortlist of three to five solid candidates, and a simple web search won't cut it. The best leads often come from real-world connections.
- Talk to Your Network: Start with friends, family, and neighbors. A personal referral is gold, but be sure to ask probing questions about their experience. Were they on time? Was the communication clear? How were problems handled?
- Check Professional Groups: Reputable organizations like the National Association of the Remodeling Industry (NARI) maintain directories of members who are held to high ethical and professional standards.
- Ask Local Suppliers: Pop into a quality tile shop or plumbing supply house. The people behind the counter see contractors all day long and know who’s busy, who pays their bills on time, and who does exceptional work.
Once you have a few names, the real homework begins. You’re not just hiring for skill; you’re hiring for professionalism and trust.
You're looking for a partner who is not only a talented builder but also an excellent communicator and project manager. In my experience, the quality of a contractor's communication is a direct reflection of the quality of their work.
The Non-Negotiables of Hiring
Before you waste time getting quotes, there are two credentials that are absolutely essential. Don't even consider a contractor who can't provide them.
- License: This is non-negotiable. Verify that their contractor's license is active and in good standing with your state's licensing board. An unlicensed operator has zero accountability.
- Insurance: A legitimate business will carry both general liability insurance and worker's compensation insurance. General liability protects your home from accidental damage, while worker's comp protects you from liability if one of their crew members gets injured on your property. Ask for a copy of their insurance certificates.
If a contractor balks at providing these documents, cross them off your list. It’s a massive red flag.
Conducting Insightful Interviews
With your vetted list in hand, it's time for some face-to-face meetings. This is your chance to see if your personalities and expectations align. Bring your plans, your ideas, and a healthy dose of curiosity. To make sure you cover all your bases, use a comprehensive list of questions to ask your potential general contractor.
Don't just talk about tile and tubs. Dig into how they actually run their business:
- Project Management: How will they keep the project on track? Do they use any software to share updates and schedules? Who coordinates the plumber, the electrician, and the tiler?
- Communication Style: How often will you hear from them? Will you have one main point of contact, or will you be juggling calls from different people?
- Handling the Unexpected: My favorite question to ask is, "Tell me about a time a project went sideways. What happened and how did you fix it?" Their answer reveals everything about their honesty and problem-solving skills.
Listen carefully to their answers, but also pay attention to how they make you feel. Do they listen patiently to your vision? Or do they seem rushed and dismissive? This partnership is the final, crucial piece of the puzzle. Choosing wisely is the key to creating a bathroom you'll love for years to come.
Navigating Permits, Timelines, and Construction
Okay, you've got your design locked in and a great contractor on board. Now comes the part where the project jumps off the page and into your home. This stage is all about logistics—tackling permits, setting a realistic timeline, and managing the day-to-day chaos of construction. It might not be as exciting as choosing a vanity, but getting these details right is the secret to a project that finishes on time and on budget.
One of the first, and most important, logistical hurdles is the building permit. I get this question all the time: "Do I really need one?" The temptation to skip it to save a little time and money is strong, but trust me, it's a huge gamble. A permit isn't just a piece of paper; it’s your safety net. It guarantees that a licensed pro is doing the work—especially critical plumbing and electrical—to current safety codes, with a neutral inspector verifying everything.
The Deal with Building Permits
So, when do you need one? As a rule of thumb, if you’re moving walls, rerouting plumbing lines, or touching the electrical wiring, you're almost certainly going to need a permit. Simple cosmetic swaps like painting the walls or replacing a faucet usually don't. Your contractor should be the one to handle the entire application, but you need to understand why it’s so non-negotiable.
Here’s what can happen if you try to work without a required permit:
- Stop-Work Orders: If a city inspector drives by and sees unpermitted work, they can shut the whole project down instantly. That means major delays.
- Hefty Fines: You could be looking at significant financial penalties and, even worse, be forced to tear out finished work so it can be properly inspected.
- Future Headaches: Your homeowner's insurance might not cover issues stemming from unpermitted work. And it can become a massive obstacle when you eventually try to sell your house.
The process usually kicks off with your contractor submitting detailed plans to your local building department. Depending on how busy they are, approval can take anywhere from a couple of days to several weeks. Once it's approved, the permit gets posted at your home, and your contractor will schedule inspections at key points—like after the plumbing and electrical "rough-in" is done and again for the final sign-off.
Building a Realistic Project Timeline
"How long is my bathroom going to be out of commission?" This is easily the most common question I hear. A detailed timeline is crucial for managing everyone's expectations and minimizing the disruption to your daily life. While your contractor will give you a specific schedule, knowing the typical order of operations helps you understand the flow of the project.
Here’s a look at the typical phases of a full bathroom gut and remodel, from demo day to the final walk-through.
Standard Bathroom Remodel Project Phases
| Phase | Key Activities | Typical Duration |
|---|---|---|
| Phase 1: Demolition & Prep | Tear-out of old fixtures, tile, vanity, and drywall. Site protection. | 1-3 Days |
| Phase 2: Rough-in Work | Rerouting plumbing supply/drain lines; running new electrical wiring for lights, outlets, and fan. | 2-5 Days |
| Phase 3: Inspection | City inspector signs off on rough-in plumbing and electrical before walls are closed. | 1 Day |
| Phase 4: Closing Walls & Prep | Installing insulation, hanging new drywall or cement board, taping, and mudding. | 3-5 Days |
| Phase 5: Tile & Flooring | Installation of floor and wall tile, including grouting and sealing. | 3-6 Days |
| Phase 6: Painting | Priming and painting walls, ceiling, and trim. | 1-2 Days |
| Phase 7: Fixture Installation | Setting the vanity, toilet, and tub/shower. Installing faucets, shower trim, and light fixtures. | 2-4 Days |
| Phase 8: Final Touches | Installing mirror, towel bars, toilet paper holder, and completing final cleanup. Final inspection. | 1-2 Days |
This sequence ensures a logical workflow, preventing trades from tripping over each other and protecting finished work from damage.
As you can see from this timeline, even before demolition starts, there's a lot of prep work involved in just finding the right pro for the job.
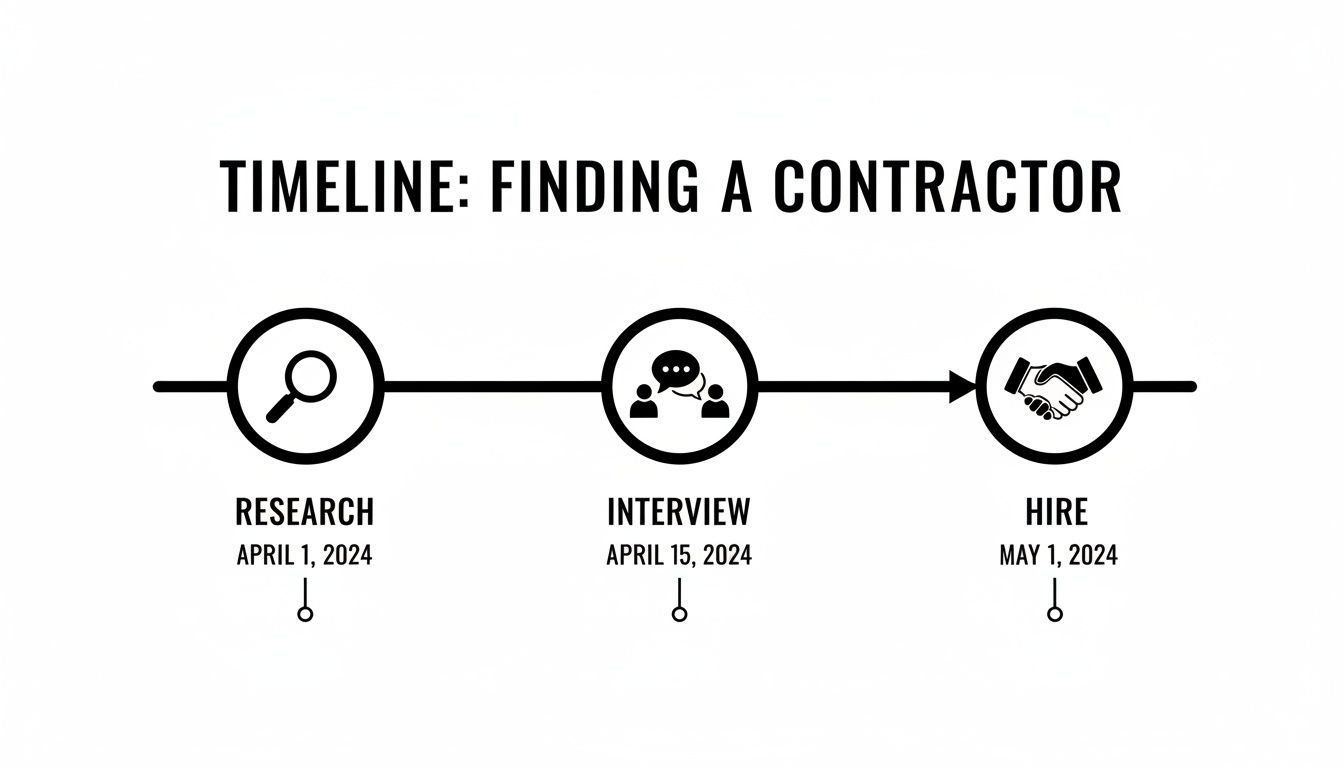
This graphic really drives home that the pre-construction phase of researching, vetting, and finally hiring your contractor is a process that takes weeks, not days. Don't rush it!
A detailed timeline is more than just a list of dates; it's a communication tool. It ensures that the plumber, electrician, and tile setter aren't all showing up on the same day, and it gives you a clear picture of when you need to have fixtures and materials on-site and ready for installation.
Tips for Managing the Project Like a Pro
Even with the best contractor in the world, your involvement is key to keeping things moving smoothly. You don't need to micromanage, but being a clear communicator and a decisive client will make all the difference. The best way to learn how to plan a bathroom remodel is to be an active, informed partner in the process.
First, establish a single point of contact with your contractor's team, which is usually the project manager. This prevents the classic "but the painter told me..." miscommunications that can derail a project.
Get everything in writing. If you discuss a change or make a decision verbally, just follow up with a quick email to confirm. This simple habit creates a paper trail that can save you from any "he said, she said" arguments down the road. For a more structured approach, you can find a helpful guide in our home renovation checklist that covers documentation and project tracking.
Finally, brace for the disruption. Remodeling is inherently noisy and dusty. Talk to your contractor about their expected work hours, clear a path for the crew to get in and out, and use plastic sheeting to protect furniture in nearby rooms. A little bit of prep work goes a long way in making the construction phase far less stressful for everyone living in the house.
Answering Your Top Remodel Questions
As you get deeper into planning your bathroom remodel, you're bound to have questions. Everyone does. Let's tackle some of the most common ones I hear from homeowners, so you can move forward with confidence and avoid those classic renovation headaches.
How Long Does a Bathroom Remodel Actually Take?
This is always the million-dollar question, and the honest answer comes in two parts. First, you have the planning stage. Don't be surprised if this takes 2 to 8 weeks. This is your time to nail down the design, pick out every last tile and fixture, and find a contractor you trust. Seriously, do not rush this phase. A well-thought-out plan is the single best way to keep your project on track.
Then, there's the actual construction. For a standard 5'x8' bathroom, you're typically looking at 3 to 6 weeks of work. That timeline can definitely get longer if we open up the walls and find something nasty like hidden water damage. It can also stretch if you're waiting on custom tile or making big changes to the plumbing and electrical layouts. If you're doing a full gut job, plan on being at the higher end of that range, or even a bit beyond.
What's the Most Common Hidden Cost I Should Brace For?
The biggest and most frustrating surprises almost always pop up right after demolition day. This is the moment of truth when your contractor can finally see what’s been hiding behind the drywall and under the old flooring.
More often than not, those hidden costs fall into one of these buckets:
- Water Damage: It's incredibly common to pull up an old toilet and find a rotted subfloor, or discover mold creeping up the wall behind the shower tile.
- Outdated Systems: We might find old galvanized pipes that need replacing or, even worse, sketchy old wiring that isn't grounded. Getting these things up to modern building codes is not optional.
- Structural Surprises: Sometimes we'll discover floor joists that weren't properly supported to begin with. These are issues that have to be fixed before we can move forward.
This is precisely why I tell every single client that a contingency fund of 15-20% of the total budget isn't just a "nice-to-have"—it's an absolute must. It turns a potential project-killing crisis into just another line item to approve.
Can We Live in Our House During the Remodel?
Yes, you absolutely can, as long as you have another functioning bathroom to use. That said, you need to be mentally prepared for what it's like to live in an active construction zone.
You can expect daily noise, a surprising amount of dust (it gets everywhere!), and a steady flow of people in and out of your house. A good, professional contractor will do their best to contain the mess with plastic sheeting and will clean up their workspace at the end of each day. But it's still smart to have a frank conversation before they start about work hours and how they'll access the space to keep the disruption to your family's life to a minimum.
Open communication with your contractor is everything. Talk about the daily schedule, dust control, and access routes before the first hammer swings. Setting clear expectations makes the whole process smoother for everyone involved.
What Remodel Choices Do People End Up Regretting?
Learning from the mistakes of others is the cheapest education you can get in home renovation. After years in this business, I've seen a few common regrets that pop up when people prioritize a certain "look" over day-to-day function.
Here are a few classic missteps you'll want to avoid:
- Choosing the Wrong Tile: That beautiful, porous ceramic tile might look great, but it can chip easily in a high-traffic bathroom. Porcelain is a much tougher choice. Similarly, those tiny mosaic tiles with tons of grout lines on a shower floor can become a real pain to keep clean.
- Impractical Shower Fixtures: A massive "rain" showerhead looks incredible in magazines, but many people find they hate it for daily use when they don't want to get their hair wet every single time.
- Forgetting About the Future: Not planning for aging in place is a big one. It's so easy to add some blocking inside the walls now for future grab bars. Or consider a curbless, walk-in shower—it's not just a modern look, it makes the space far safer and more accessible down the road.
- Skimping on Ventilation: A cheap, undersized exhaust fan is a recipe for long-term moisture and mold problems. This is not the place to save a few bucks.
Thinking through these practical details right now will help ensure you get a bathroom that not only looks stunning when it's done but is also a genuine joy to use for years to come.
Taking on a remodel can feel like a huge undertaking, but you don't have to figure it all out on your own. The team at Garner Construction & Maintenance is here to make your home renovation as straightforward and stress-free as possible, focusing on quality work and clear communication every step of the way. When you're ready to bring your vision to life, learn more about our services and how we can help.