
That sinking feeling when you spot a dark stain spreading across your ceiling or wall is a classic homeowner nightmare. But what you do in the next few minutes is what truly matters. Your first moves should be immediate and decisive: find the source of the water and, most importantly, safely turn off the electricity to that part of the house. Acting within the first 24 hours is your best shot at preventing severe damage, spiraling costs, and the dreaded onset of mold.
What to Do Immediately After Finding Water Damaged Drywall
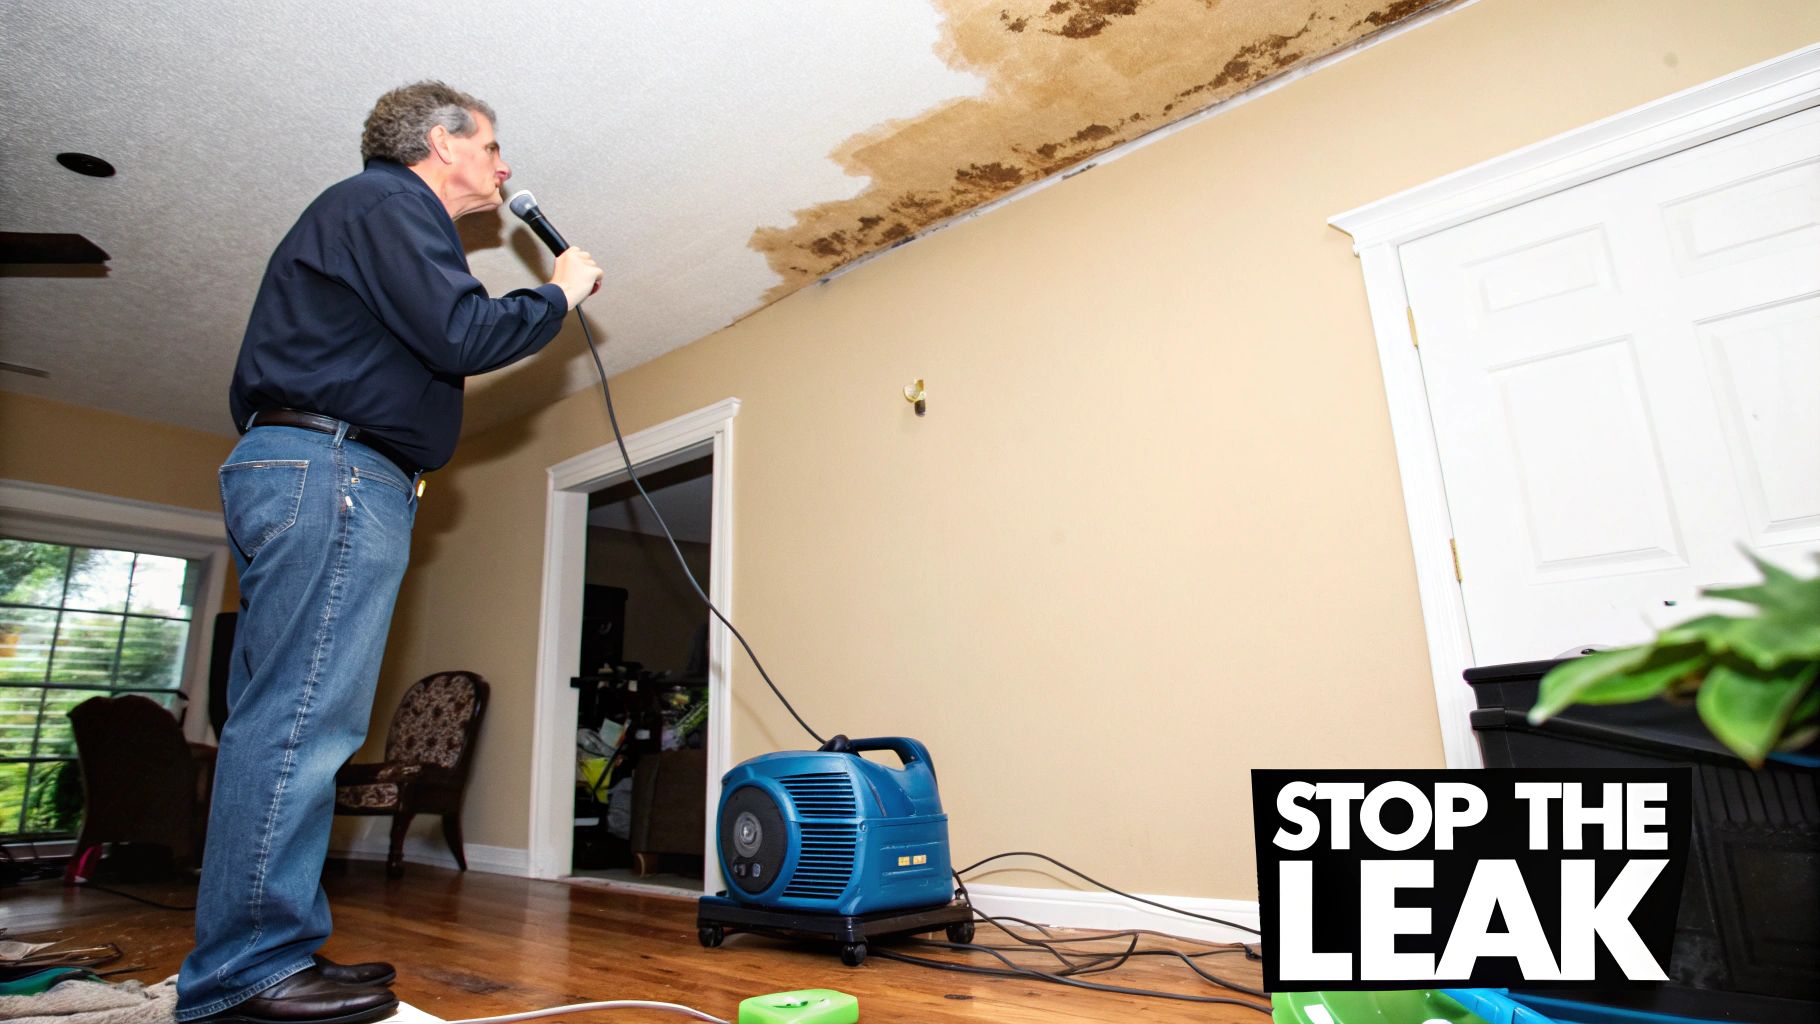
The moment you find that discolored patch or feel a damp spot on the wall, it’s easy to panic. Resist the urge. A calm, methodical approach will turn a potential disaster into a manageable project. The goal right now isn't repair—it's damage control.
Secure the Area First
Safety always, always comes first. Water plus electricity is a recipe for disaster. Before you touch anything else, head straight to your breaker box and shut off the power to the affected rooms. If you’re not sure which breaker controls what, play it safe and kill the main power to the whole house.
With the power off, it’s time to save your stuff. Get furniture, rugs, electronics, and anything else out of the wet zone. This not only protects your belongings but also gives you a clear, open space to work and helps air circulate more effectively.
Stop the Water at Its Source
Now, put on your detective hat and find where the water is coming from. The culprit isn’t always where you'd expect. That stain on your living room ceiling could be from a leaky toilet upstairs, a compromised roof flashing, or even a drip from your attic HVAC unit.
Here are a few common suspects to investigate:
- Plumbing Leaks: For a burst pipe or a dripping fixture, find your home's main water shut-off valve and turn it clockwise until it's tight.
- Appliance Failures: If a dishwasher or washing machine is the problem, unplug it and close its specific water supply valve, usually found right behind the unit.
- Roof or Window Leaks: These are tough to stop mid-storm. The best you can do is place buckets under any drips to contain the water for now.
Acting fast isn't just about stopping the spread of water; it’s about controlling the cost. Water damage is one of the most frequent and expensive problems homeowners face. A quick response can literally save you thousands of dollars in the long run.
Begin the Drying Process
Once the leak is contained and the area is safe, the race to get things dry begins. The longer drywall stays saturated, the more it weakens and sags. Worse, it becomes the perfect breeding ground for mold, which can take hold in as little as 24-48 hours.
Get fans going immediately. Aim high-volume fans directly at the wet surfaces to keep the air moving and accelerate evaporation. A dehumidifier is your other best friend here; it will actively pull moisture from the air, which in turn helps pull the trapped water out of the drywall. Let them run 24/7 until everything is bone dry. For a truly accurate reading, a moisture meter is the only way to know for sure.
As industry data from sources like Angi shows, tackling clean water damage within this critical time frame can make a huge difference in your final repair bill.
Repair or Replace? How to Assess the Damage
Okay, you’ve stopped the leak. The immediate chaos is over, but now you have to play detective. The big question is, can you get away with a simple repair, or are you looking at a full-on replacement of the affected drywall?
Making the right call here is everything. It's the difference between a permanent fix and a recurring nightmare of hidden mold and rot. The answer depends entirely on how much water got in and how long it sat there. Drywall is like a sponge; its gypsum core and paper backing can wick moisture several inches beyond the visible stain, creating problems you can't even see.
A Hands-On Inspection
First things first, you need to get up close and personal with the damage. Look beyond the obvious water spot and inspect the surrounding area, the baseboards, and any seams where drywall panels meet.
Your inspection should cover a few key things:
- Discoloration: Are the stains light watermarks, or are they a dark, ugly brown or yellow? The darker the stain, the longer the water has likely been sitting there.
- Texture Changes: See any bubbling or peeling paint? That’s a dead giveaway that moisture has seeped in and is pushing the surface layers away from the gypsum core.
- Warping and Sagging: Run your hand over the area. Does it feel flat and solid, or can you detect swelling or bulging? On ceilings, any sagging is a huge red flag—it means the structural integrity of the drywall is failing.
Next up is the "press test." Using your thumb, press firmly but gently on the stained spots and the area around them. Healthy drywall is rock solid. If it feels soft, spongy, or crumbles under pressure, it’s toast. Replacement is non-negotiable at that point.
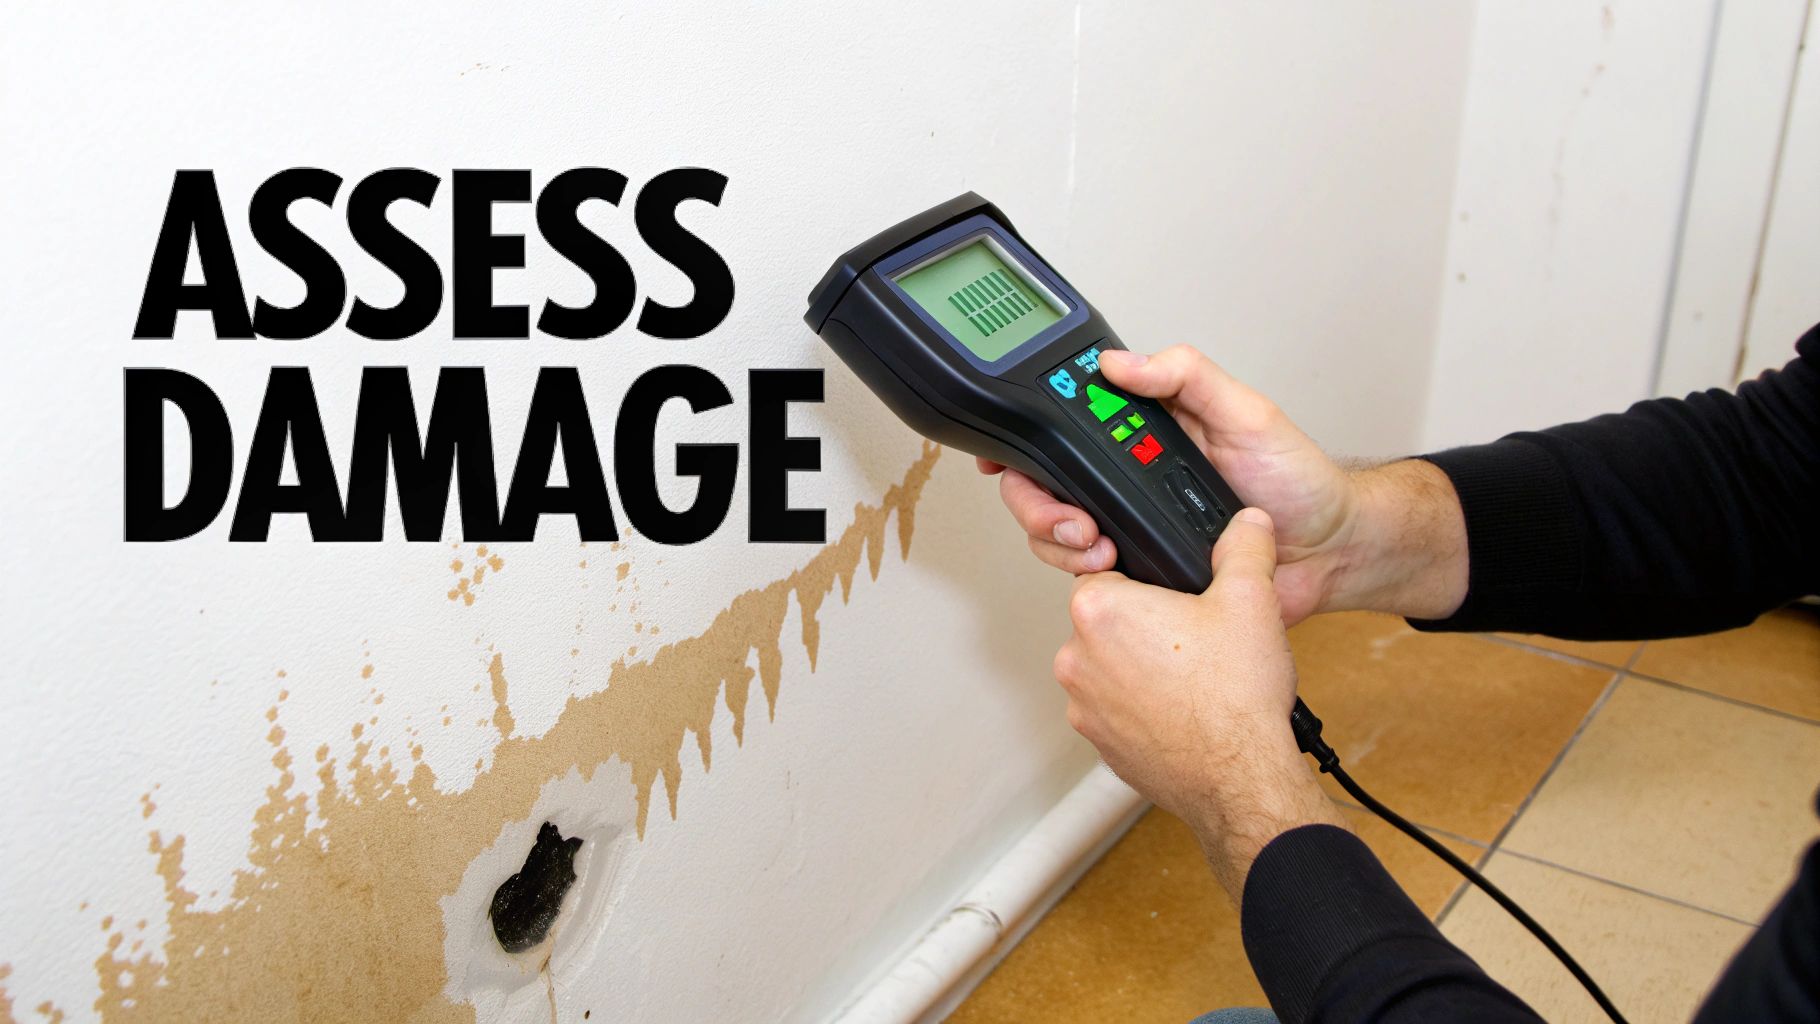
Go Deeper With a Moisture Meter
Your eyes and hands can tell you a lot, but they can't see inside a wall cavity. This is where a moisture meter is your best friend. These gadgets are fantastic for detecting moisture content below the surface, showing you the true extent of the water's spread.
A moisture meter takes the guesswork out of the equation. It's the only real way to know if the studs and insulation behind the drywall are also wet, which is a critical piece of the puzzle.
Start by testing the visibly damaged spot, then move the meter outwards in circles. You might be shocked to see how far the moisture has traveled. As a rule of thumb, any reading above 15-17% moisture content in drywall is a problem that requires immediate and thorough drying or complete removal.
The Final Call: Making the Right Decision
Now that you've gathered all the evidence, the path forward should be much clearer. Sometimes a simple patch job just won't cut it, especially if the core of the drywall is compromised.
To help you decide, here’s a quick checklist to weigh the symptoms you're seeing.
Drywall Damage Assessment Checklist
Use this table to determine whether your water-damaged drywall needs a simple patch or a full replacement.
| Symptom | Repair Indicated (Small Damage) | Replace Indicated (Major Damage) |
|---|---|---|
| Stains | Faint, light discoloration on the surface only. | Dark, persistent stains that reappear after drying. |
| Texture | Drywall remains hard and solid to the touch. | The wall feels soft, spongy, or crumbly. |
| Shape | The surface is completely flat and intact. | Obvious sagging, bulging, warping, or peeling paint. |
| Moisture | The area dried completely within 24 hours. | The drywall was soaked for more than 48 hours. |
| Odor | No unusual or musty smells after drying. | A persistent musty or earthy odor lingers. |
| Mold | Absolutely no visible signs of mold or mildew. | Any visible black, green, or dark spots are present. |
When it comes to water damage, it’s always smarter to be overly cautious. If you have any doubt about the drywall's integrity—especially if it feels soft or you see even a hint of mold—cutting it out is the safest bet. This is the only way to guarantee you've removed all the damaged material and can properly dry the wall cavity before putting up a fresh patch.
Getting Your Toolkit and Supplies Ready
There's nothing more frustrating than having to stop a project midway through for a frantic run to the hardware store. Before you touch that wall, let's get everything you'll need gathered and within arm's reach. This isn’t just about saving time; it's about being able to work smoothly and safely from start to finish.
Think of it this way: you wouldn't start baking a cake without having the flour, eggs, and sugar already on the counter. A proper drywall repair is no different. We’ll go through the complete shopping list, broken down by what you'll be doing.
First Things First: Safety Gear
This is non-negotiable. Don't even think about skipping this stuff. Cutting into old walls can kick up all sorts of nasty things, from fine silica dust to hidden mold spores.
- Safety Glasses or Goggles: Keep dust, debris, and who-knows-what-else out of your eyes.
- Dust Mask or Respirator: A good N95-rated mask is your best friend here. It's essential for protecting your lungs.
- Work Gloves: A simple pair will save your hands from sharp edges and scrapes.
I can't stress this enough: your health is worth more than the few dollars you might save. A $5 mask is a tiny price to pay to avoid potential respiratory problems down the road. Gear up every single time.
Tools for Demo and Installation
These are the workhorses of the project. You'll use them to cut out the bad drywall and put the new piece in its place. A little precision here goes a long way and makes the finishing work a whole lot easier.
- Utility Knife: Make sure you have plenty of fresh blades. A sharp blade gives you a clean cut instead of a torn, messy edge.
- Drywall Saw (Jab Saw): Perfect for plunging into the middle of the wall to start your cuts.
- Tape Measure & Carpenter's Square: Absolutely critical for measuring the damaged spot and making sure your patch is perfectly square.
- Stud Finder: Don't guess where the studs are. This little tool will find the wood framing you need to screw your patch into.
- Drill or Drywall Screw Gun: A standard drill works fine for fastening the new drywall panel.
Materials for a Perfect, Invisible Finish
Now for the part that requires a bit of finesse. Using the right materials here is what separates a lumpy, obvious patch from a repair that completely vanishes. And believe me, this is a skill worth having.
Small-scale water damage repairs are incredibly common. In fact, an astonishing 40% of US homes deal with water damage every year, which means there's a huge need for these smaller, under-10-square-foot fixes. The market for these services is massive, which just highlights how important it is to do it right with the right stuff. You can read more about the growth of the drywall repair market if you're curious.
For a repair that looks like it never happened, you'll need:
- A New Piece of Drywall: The single most important thing here is to match the thickness of your existing wall. Most modern homes use 1/2-inch, but if you're in an older house, you might find 5/8-inch or even 3/8-inch.
- Drywall Screws: Grab a box of 1 ¼-inch screws. They're the standard for this job.
- Drywall Tape: Fiberglass mesh tape is self-adhesive and generally easier for beginners to work with than paper tape.
- Joint Compound (or "Mud"): A pre-mixed, all-purpose compound is fine. If you're in a hurry, you can get a "hot mud" that you mix with water for a faster set time.
- Drywall Knives: You'll need at least two: a 6-inch knife for taping and a wider 10 or 12-inch knife for feathering out the final coats smoothly.
- Sanding Sponge or Sandpaper: A medium-grit (120-150) is what you want for knocking down any high spots on the dried mud without scratching it up.
- PVA Drywall Primer: Do not skip this! Primer seals the new mud and paper, so your top coat of paint goes on evenly and doesn't look blotchy.
A Practical Guide to Replacing Damaged Drywall Sections
Alright, you've assessed the damage and have your tools ready. Now for the hands-on part. Don't let it intimidate you—this is where you go from assessment to action. With some careful, methodical work and a focus on clean cuts, you can create a patch so seamless that no one will ever know it was there.
The trick here is all about smart removal and a clean installation. We're not trying to follow the weird, amoeba-like shape of a water stain. Instead, we’re cutting out a simple square or rectangle. This approach creates straight lines and lets you anchor the patch to solid wood, making the repair strong, stable, and a whole lot easier to finish.
This workflow breaks the job down into three key phases, from getting your safety gear on to making the final repair.
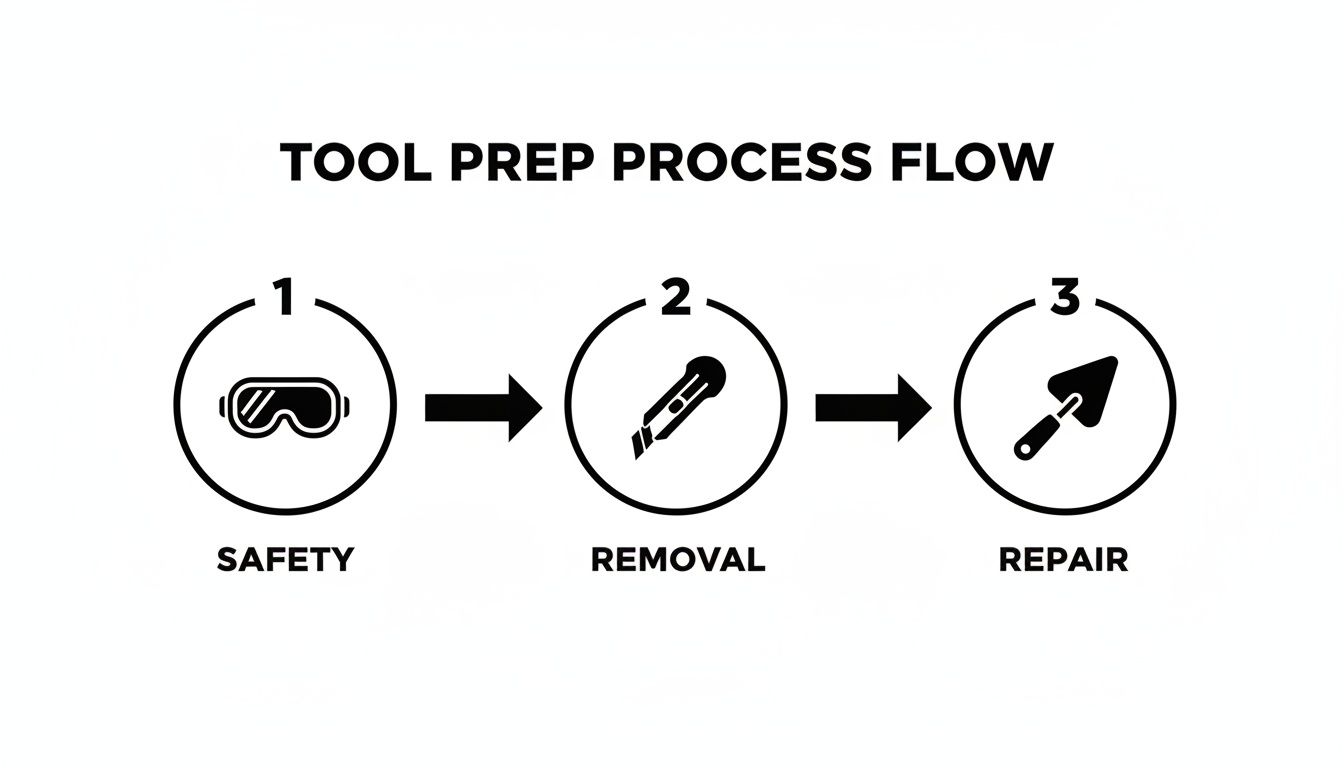
Following a structured process like this—safety first, then removal, then repair—is the key to getting it done right without any headaches.
Marking and Cutting a Clean Opening
First things first, grab your tape measure and a pencil. You’re going to draw a perfect square or rectangle around the entire damaged area. Make sure to give yourself a good buffer; extend those lines at least an inch or two into the clean, dry drywall on all sides. Use a carpenter's square to get those corners to a perfect 90 degrees. Trust me, a square patch is way easier to fill than a jagged, oddly shaped hole.
Next, get out your stud finder and scan the area inside your lines. The best-case scenario is having the vertical sides of your cut land right in the middle of a wall stud. This gives you a solid piece of wood to screw the new drywall into, making for a rock-solid repair. If you can’t hit studs on both sides, don’t sweat it—we can add bracing later.
Once your lines are marked, it's time to cut. I like to start by plunging a drywall saw into the middle of the damaged section and cutting out toward the pencil lines. When you get close to the line, you can switch to a sharp utility knife for better control. Score the line a few times until you're cleanly through both the paper and the gypsum core.
Pro Tip: As you cut, angle your blade slightly outward. This creates a beveled edge, which forms a small V-shaped groove when you fit the new piece. That little groove holds joint compound much more effectively and makes for a stronger, more crack-resistant seam.
Fitting and Securing the New Drywall Patch
Measure the opening you just made—and be precise. Transfer those exact dimensions to your new sheet of drywall. Remember the old carpenter's motto: measure twice, cut once. Use your utility knife and a straightedge to score the front paper, then give it a firm snap. The board will break cleanly along your line. Just slice the back paper to release your patch.
Now, do a test fit. The new piece should slide into the opening snugly, but you shouldn't have to force it. If it's a bit too tight, just shave a sliver off one of the edges with your utility knife.
If you couldn't anchor the patch to existing studs, now is the time to add your own support. Cut a couple of small 1x3 boards a few inches longer than the height of your opening. Slide them into the wall behind the existing drywall and drive drywall screws through the good drywall into the wood to hold them in place. This creates a solid backing for you to attach the new patch to.
With your backing in place, fit the patch into the opening and secure it with 1 ¼-inch drywall screws. Drive a screw every 6 to 8 inches around the perimeter. You want to sink the screw heads just slightly below the paper surface without breaking through it. You'll know it's perfect when the screw creates a small "dimple" in the drywall.
The Art of Taping and Mudding
This is where the magic happens and your repair becomes invisible. Start by using your 6-inch drywall knife to apply a thin, even layer of joint compound over all the seams.
- If you're using fiberglass mesh tape, press it firmly into that first layer of wet mud.
- If you're using paper tape, lay it into the mud and then run your knife over it to squeeze out all the excess compound and any air bubbles from underneath.
Let this first coat dry completely. Seriously, walk away for up to 24 hours. Rushing it is the fastest way to get a weak, cracked finish.
Once it's bone dry, apply a second coat of mud with a wider, 10- or 12-inch knife. This time, feather the edges a few inches beyond the first coat. You're building a very slight, wide mound over the tape that tapers down to nothing at the edges.
This kind of repair is incredibly common. The global market for drywall repair hit $5.1 billion in 2023 and is projected to nearly double by 2033. Most of that is driven by common issues just like water damage. For homeowners, costs for a professional patch job often land in the $1-$3 per square foot range just for patching and priming.
After your second coat dries, give it a light sanding to knock down any high spots or ridges. Then, apply one final, super-thin top coat. This last layer should be the widest yet, extending several more inches to create that perfectly smooth, imperceptible transition from the patch to the rest of the wall. This three-coat process is the secret to a professional finish and is a core skill for many of the inside work projects that keep a home looking its best. Let it dry, give it a final light sanding, and you’re ready to prime and paint.
Finishing Your Repair for a Flawless Look
You’ve muscled through the tough parts—cutting out the damage, fitting a new patch, and applying the joint compound. Now comes the finishing work, the part that truly separates a clumsy patch from a professional, invisible repair.
This is where patience really pays off. The number one mistake I see homeowners make is rushing these last few steps. A little extra care with sanding, priming, and texturing is what makes the difference between a repair that sticks out and one that completely disappears.
Perfecting the Surface With Smart Sanding
After your final coat of mud has cured for at least 24 hours, it’s time to knock down any high spots. Grab a medium-grit sanding sponge or a piece of 120- to 150-grit sandpaper. Anything rougher will just tear into the soft compound and leave deep scratches that are a headache to fix later.
Use a light hand. You’re not trying to reshape the wall, just gently smooth out ridges or tool marks. Your goal is to feather the edges of the patch so you can’t feel a transition between the repair and the original wall. Run your bare hand over it—if you can feel a bump, you're not done yet.
A Pro Tip for Dust Control: Drywall dust is a menace; it gets into everything. To keep the mess to a minimum, try wet sanding. Just get a sponge damp (not sopping wet) and use it to gently wipe down the high spots. The water softens the compound just enough to smooth it out with almost zero airborne dust.
The Non-Negotiable Priming Step
With a perfectly smooth patch, you’ll be tempted to grab your paint roller and get the job done. Stop right there. Skipping this next step is a guaranteed way to make your repair stick out.
You absolutely must prime the patch before painting. Fresh joint compound is incredibly thirsty and will soak up paint like a sponge, leaving a dull, flat spot called "flashing." No matter how many coats of paint you throw on top, that spot will always look different from the rest of the wall.
You'll need a specific primer to get this right.
- PVA Drywall Primer: This is the go-to for a reason. Polyvinyl acetate (PVA) primer is made specifically to seal the porous surfaces of new drywall and mud. It creates a uniform base, so your paint goes on evenly with a consistent sheen.
- Stain-Blocking Primer: If the water damage left a nasty stain, hit it with a shellac or oil-based stain blocker first. This acts as a barrier, ensuring that old stain never bleeds through your beautiful new paint job.
Apply a solid coat of primer over the entire repair, making sure to overlap onto the surrounding wall by a few inches. Let it dry completely—don't rush it.
Matching Your Existing Wall Texture
Most walls aren't perfectly smooth. Look closely and you'll probably see a subtle texture, like an orange peel or knockdown finish. If you put a perfectly smooth patch on a textured wall, it will be just as obvious as a lumpy one.
Matching the existing texture is the final illusion. Luckily, it's easier than it sounds.
- Orange Peel or Splatter: Hardware stores sell aerosol cans of wall texture. You can adjust the nozzle for a finer or coarser spray. Always practice on a scrap piece of cardboard first to get your technique down before hitting the wall.
- Roller Stipple: Often, the "texture" is just the stipple left behind by a paint roller. To replicate this, thin down some joint compound with water until it has the consistency of pancake batter. Then, use a thick-nap roller to apply a thin layer over your primed patch, matching the original pattern.
Once your new texture is dry, hit it with one last, thin coat of PVA primer. This seals the texture so it accepts paint just like the rest of the wall.
Now, you’re finally ready to paint. Since water damage often occurs in bathrooms or basements, the type of paint you choose is just as important. For more on that, take a look at our guide on the best paint for bathroom walls.
Knowing When to Call a Professional for Drywall Repair
As a homeowner, one of the best skills you can develop is knowing when to put the tools down. While this guide gives you the confidence to handle a lot of common drywall repairs, some water damage scenarios are just too risky for a weekend warrior.
Think of it less as admitting defeat and more as making a smart call to protect your home’s value and your family’s well-being. If you run into any of the situations below, it’s time to call in the pros.
Widespread Damage or Structural Concerns
If you're looking at more than just a small, isolated patch of wet drywall, it’s a good idea to get a professional opinion. Water damage that spans multiple rooms, soaks entire walls, or—even worse—causes your ceiling to bow is a major red flag.
A sagging ceiling isn't just a cosmetic problem; it's a serious safety hazard. It means the drywall is so waterlogged that its structural integrity is gone, and it could collapse. Professionals have moisture meters and thermal cameras to see what you can't, like soaked insulation and compromised wall studs behind the scenes. For bigger jobs, specialized interior services are crucial to ensure your home's framework is solid before any new drywall goes up.
Water damage from a sewer backup or floodwater is an absolute no-go for DIY. This is "black water," and it's full of dangerous bacteria and contaminants. Safe removal requires professional-grade equipment and strict safety protocols.
Another clear sign you need to call for backup is extensive mold. If you find dark, fuzzy spots covering more than a few square feet, or if that musty, mildewy smell just won't go away, you have a bigger problem. Professionals know how to contain the area to stop spores from spreading through your HVAC system and becoming a house-wide health issue. Attempting to remediate a large mold problem on your own can easily make things much, much worse.
Still Have Questions? Let’s Clear a Few Things Up
Even after walking through the process, it’s natural to have a few more questions pop up. When it comes to water damage, you want to be absolutely sure you’re doing things right. Let's cover some of the most common questions we hear from homeowners dealing with this exact situation.
How Long Does It Really Take for Drywall to Dry?
This is a big one, and unfortunately, there's no single answer. A small, lightly damp spot in a room with great airflow might feel dry in just 24-48 hours. But don't let that fool you. The real issue is the moisture you can't see, the water that soaked into the core of the drywall and is now sitting in your wall cavity.
For that hidden moisture to truly evaporate, you're looking at 72 hours at a bare minimum, and often much longer.
Pro Tip: Your hand is not a reliable tool here. The only way to know for sure if the drywall and the wood studs behind it are dry is to use a moisture meter. It's the difference between a real fix and a future mold problem.
Can I Just Get Away With Painting Over a Water Stain?
We get it. The temptation to just cover up a stain with some Kilz primer and move on is strong, but trust me on this one: don't do it. Painting over damp drywall literally seals the moisture in, turning your wall into a five-star hotel for mold.
Even if you’ve managed to get the wall completely dry, the stain is a symptom. The water has likely compromised the gypsum core. If the area feels soft, spongy, or is sagging at all, it has to be cut out and replaced. Slapping paint over it is just a cosmetic band-aid on a structural problem that will only get worse (and more expensive) later.
What Does Hidden Mold Actually Smell Like?
Your nose often knows before your eyes do. If you've got mold growing inside your walls, you'll probably start to notice a very distinct smell. Most people describe it as a musty, earthy, or old damp basement kind of odor.
It's a persistent smell that hangs in the air and doesn't fade, even after you've dried everything out. If that smell is lingering around the damaged area, it’s a huge red flag that mold has already set up shop behind the drywall.
If the job feels bigger than you bargained for, or if you just want the assurance that it’s handled correctly from start to finish, that's what we're here for. The pros at Garner Construction & Maintenance can take care of everything, from a simple patch to a major restoration. Give us a call for a no-stress estimate and get it done right.
Article created using Outrank