
When it comes to picking the best paint for bathroom walls, the answer is surprisingly simple: a top-notch acrylic latex paint with a satin or semi-gloss finish. This isn't just a recommendation; it's a battle-tested formula for creating a durable, water-resistant shield that can handle the daily onslaught of steam, splashes, and humidity.
Navigating Paint Choices For High-Humidity Spaces
Painting a bathroom is a whole different ballgame compared to, say, a bedroom or living room. Your bathroom walls are in a constant wrestling match with moisture. Using standard interior paint, especially a flat or matte one, is like wearing a cotton t-shirt in a downpour. It just soaks everything up, leading to peeling, bubbling, and—worst of all—creating a perfect home for mold and mildew.
So, choosing the right paint is less about picking a pretty color and more about long-term protection. You’re essentially giving your walls a high-performance raincoat. Understanding how the paint formula and the finish work together is the key to a paint job that not only looks great but also guards your walls for years.
Key Factors For a Lasting Finish
To make the right call, you need to look beyond the color chip. A few key factors are critical for how well your bathroom paint will hold up.
- Moisture Resistance: The paint's number one job is to create a non-porous surface. This stops water from sneaking into the drywall behind it.
- Durability and Cleanability: Bathrooms get grimy. From soap scum to toothpaste splatters, you’ll be cleaning the walls often. The paint needs to be tough enough to handle a good scrub without losing its color or sheen.
- Mold and Mildew Prevention: Many high-quality bathroom paints now come with antimicrobial additives baked right in. These actively fight the growth of mold and mildew, which is a constant threat in damp spaces.
The global paints and coatings market is booming, expected to hit USD 256.02 billion by 2032, and a big chunk of that comes from residential projects just like this. Homeowners are often repainting bathrooms every 5-7 years to fight back against moisture damage and keep things fresh.
This flowchart breaks down the choice perfectly, showing you exactly what to look for in a humid bathroom environment.
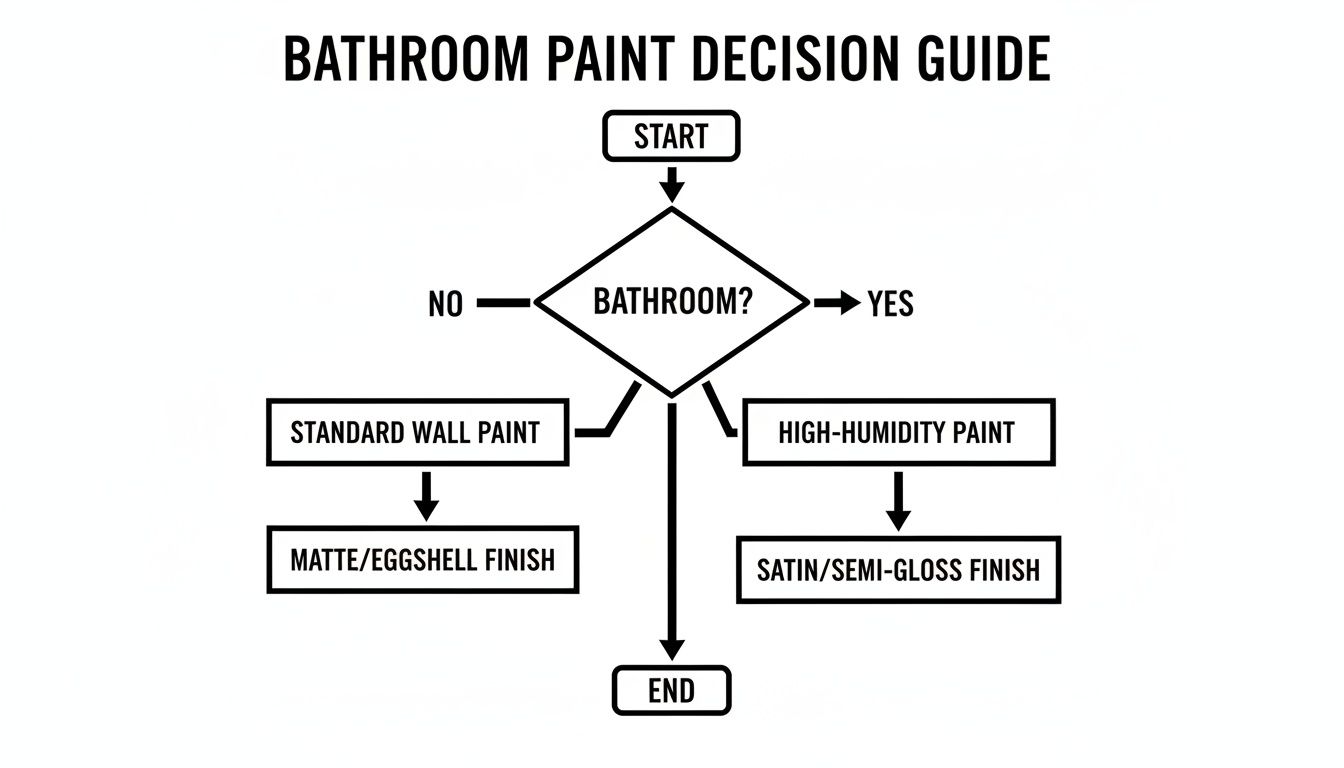
As you can see, the path for high-humidity areas like bathrooms points directly to a satin or semi-gloss finish for the best protection. If you're looking for that professional touch on your interior painting projects, our team at Garner Construction & Maintenance has you covered.
Understanding Paint Finishes and Formulas
Choosing the right paint for your bathroom is a bit like picking out a good raincoat. You wouldn't wear a cotton sweatshirt in a downpour, right? It would just soak up the water, get heavy, and leave you miserable. You need something that actively repels water, and your bathroom walls need the same kind of high-performance protection.
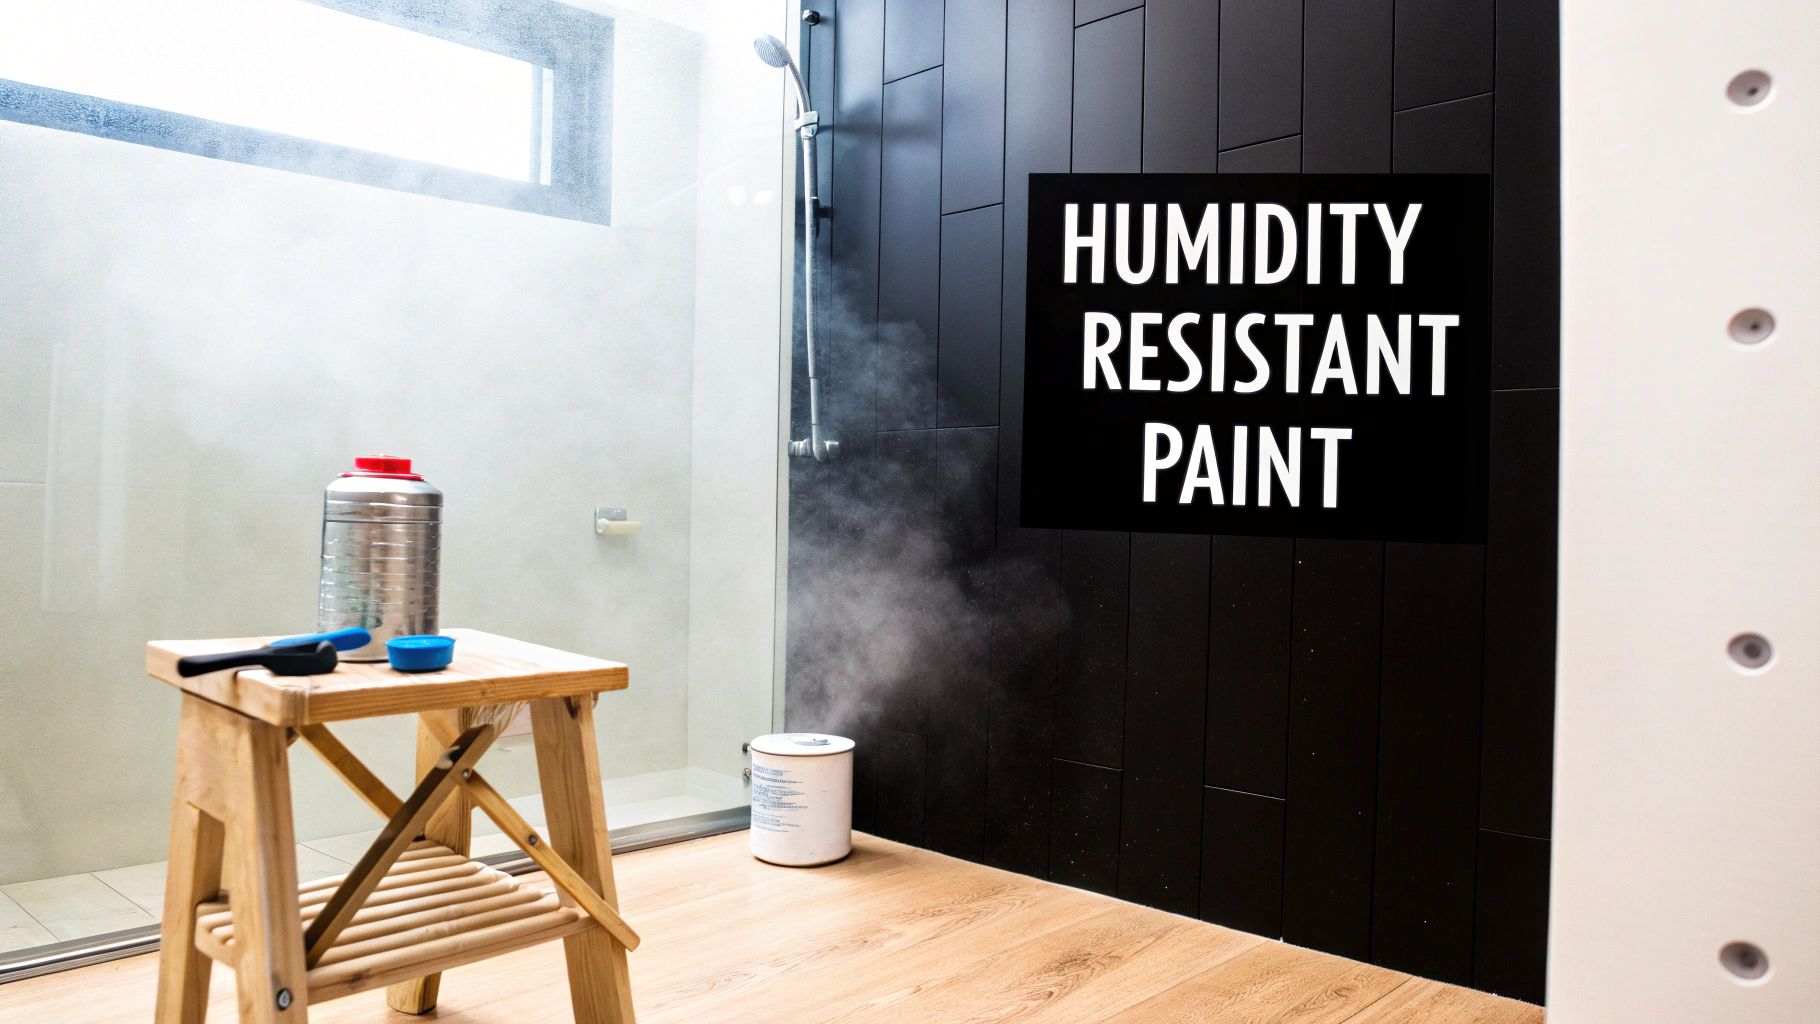
This all comes down to the paint’s core formula. For a long time, oil-based (alkyd) paints were the go-to for durability. But paint technology has come a long way, and today's high-quality acrylic latex paints are really the best choice for a room that gets as steamy as a bathroom. They’re more flexible and, critically, more breathable.
Think of it this way: an old oil-based paint creates a hard, brittle shell. It’s good at blocking water at first, but if any moisture gets behind it through a tiny crack, it’s trapped. That’s what causes those ugly peeling and blistering bubbles. On the other hand, a modern acrylic latex paint film allows microscopic water vapor to pass right through, so your walls can actually dry out. This simple "breathing" action is what prevents moisture from getting stuck and causing damage down the road.
The Role of Paint Sheen in Protection
Once you’ve settled on the formula, the next big decision is the sheen, also known as the finish. This isn't just about looks; the amount of shine a paint has is directly tied to how tough and moisture-resistant it is. In simple terms, the more gloss, the more durable the paint.
If you could zoom in on a flat paint finish, you'd see a rough, porous surface, almost like a sponge. It’s great at hiding little bumps on the wall, but it’s terrible for a bathroom because it just drinks up moisture. Now, picture a high-gloss finish—it's slick and non-porous, like glass. Water just beads up and rolls right off.
Here’s how the most common sheens stack up for bathroom use:
- Flat/Matte: Has that beautiful, velvety look but is a sponge for moisture. Avoid it for bathrooms, period.
- Eggshell: A tiny step up from flat with a very subtle luster. It might work in a rarely used powder room with great ventilation, but it’s still risky.
- Satin: This is the sweet spot for many people. It has a soft glow that’s easy to clean and offers very good moisture resistance.
- Semi-Gloss: With its noticeable shine, this finish is incredibly durable and easy to scrub. It’s a fantastic choice for kids' bathrooms or any high-traffic, high-humidity space.
- High-Gloss: The toughest of them all. Its mirror-like shine can be a bit much for entire walls, but it's perfect for trim, doors, and cabinets that take a lot of abuse.
For most bathroom walls, you simply can't go wrong with a satin or semi-gloss finish. They create a hard, protective film that repels shower steam and makes it easy to wipe off toothpaste splatters without a second thought.
Matching Formula and Finish for Best Results
The real magic happens when you pair the right formula with the right finish. An acrylic latex paint for bathroom walls in a satin or semi-gloss sheen is the winning combination. This duo creates a powerful defense system for your walls.
You get the flexibility and breathability from the latex formula, plus the washable, water-repellent surface from the higher sheen. This is how you prevent the classic bathroom paint problems—peeling, bubbling, and mildew stains. Spending a little more on this specific combination is the surest way to get a paint job that not only looks great when you’re done but stays that way for years.
Tackling Mold and Mildew With the Right Paint
Let's face it: even with a good fan, the steam and humidity in a bathroom create the perfect environment for mold and mildew. These aren't just ugly black spots; once they get a foothold, they can be a serious chore to get rid of for good. Thankfully, the paint you choose can be your most powerful ally in this fight.
Think of specialized bathroom paint as having a secret weapon built right in. These modern formulas are packed with antimicrobial additives, often called mildewcides, that are mixed into the paint itself. These agents actively prevent mold spores from growing on your walls in the first place. It’s a proactive strategy that stops the problem before it starts.
How Does Mildew-Resistant Paint Actually Work?
So what's the magic behind it? Mold and mildew need a few key things to survive: moisture, warmth, and something to eat (like the paper on drywall or even dust). Your bathroom generously provides the first two. The antimicrobial additives in the paint basically poison the food source, making the wall surface completely unlivable for these organisms.
When a stray mold spore lands on a wall painted with this stuff, the mildewcide stops it from growing and spreading. It’s kind of like trying to grow a plant in toxic soil—it simply won't take root. This is a huge advantage for keeping your bathroom healthy and clean, especially in smaller bathrooms or those without great ventilation.
And homeowners are catching on. The market for anti-mould bathroom paint is expected to reach $638 million by 2025, a clear sign that people are tired of dealing with this common problem. Studies show these paints can stop microbial growth by up to 99.9% and even help your walls last 40% longer, which is a pretty solid return on investment. You can dig deeper into these numbers in the latest market analysis.
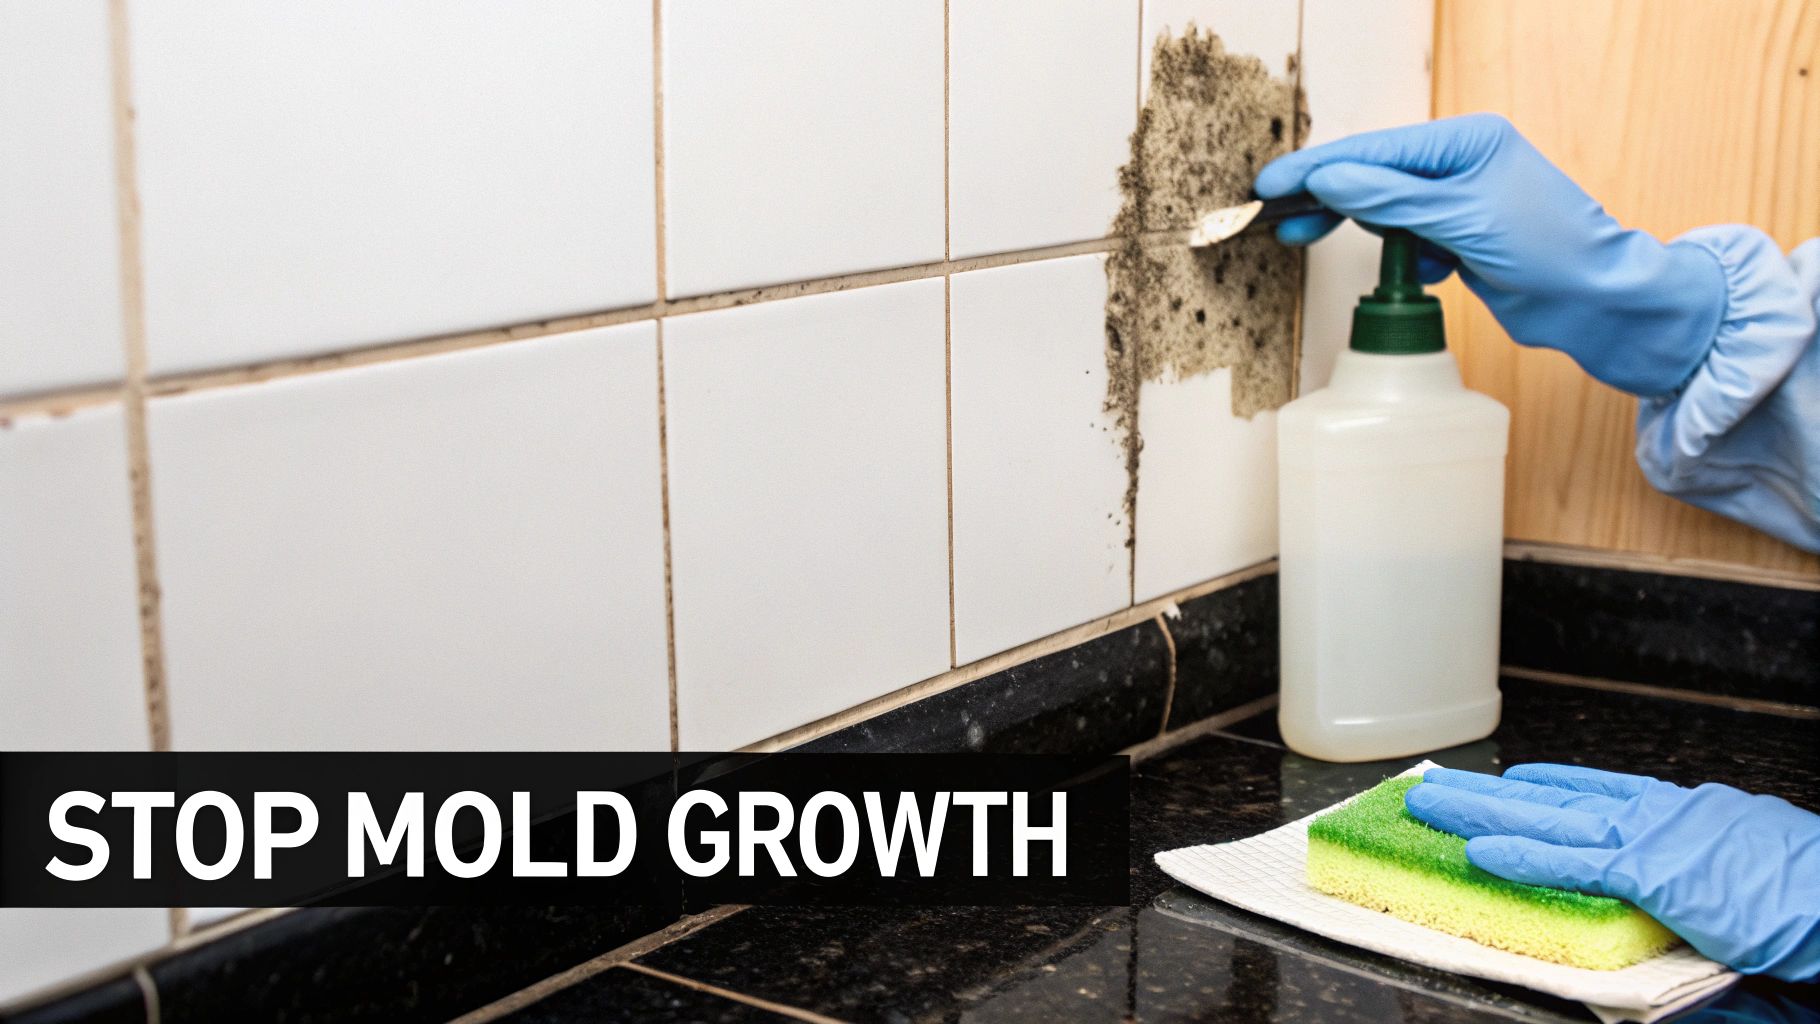
The Golden Rule: Never Paint Over an Existing Problem
Listen, if you take away only one thing, let it be this: never, ever paint over existing mold or mildew. I've seen it a hundred times. It looks like a quick fix, but you're just setting yourself up for a bigger headache down the road. Painting over mold is like slapping a bandage on a deep cut without cleaning it first—it traps the problem and lets it get worse underneath.
The mold will continue to feast on the trapped moisture right under that fresh coat of paint. Before you know it, the new paint will start to bubble, peel, and fail, and you’ll be right back where you started, only this time the problem is even more entrenched.
Before a single drop of paint touches that wall, you have to completely kill and remove any existing mildew.
Here’s the simple, no-nonsense way to do it right:
- Gear Up: Safety first. Put on gloves, goggles, and a mask. You don't want to breathe in mold spores or get bleach on your skin.
- Mix Your Solution: In a spray bottle, mix one part regular household bleach with three parts warm water. If you prefer a less harsh option, straight distilled white vinegar works well too.
- Spray and Wait: Hit all the affected spots with your solution and just let it sit for about 10-15 minutes. This gives it the time it needs to penetrate and kill the mold at its roots.
- Scrub it Away: Grab a soft brush or a sponge and gently scrub the mildew off the wall.
- Rinse and Dry, Really Dry: Wipe the walls with a clean, damp cloth to get rid of any leftover cleaner. Then, make absolutely sure the walls are 100% dry before you even think about priming. A box fan or a dehumidifier can really help here.
By taking the time to clean the surface properly, you're giving your new coat of specialized paint for bathroom walls a clean slate to work with. It can then focus on what it does best—preventing new growth, not just hiding an old mess.
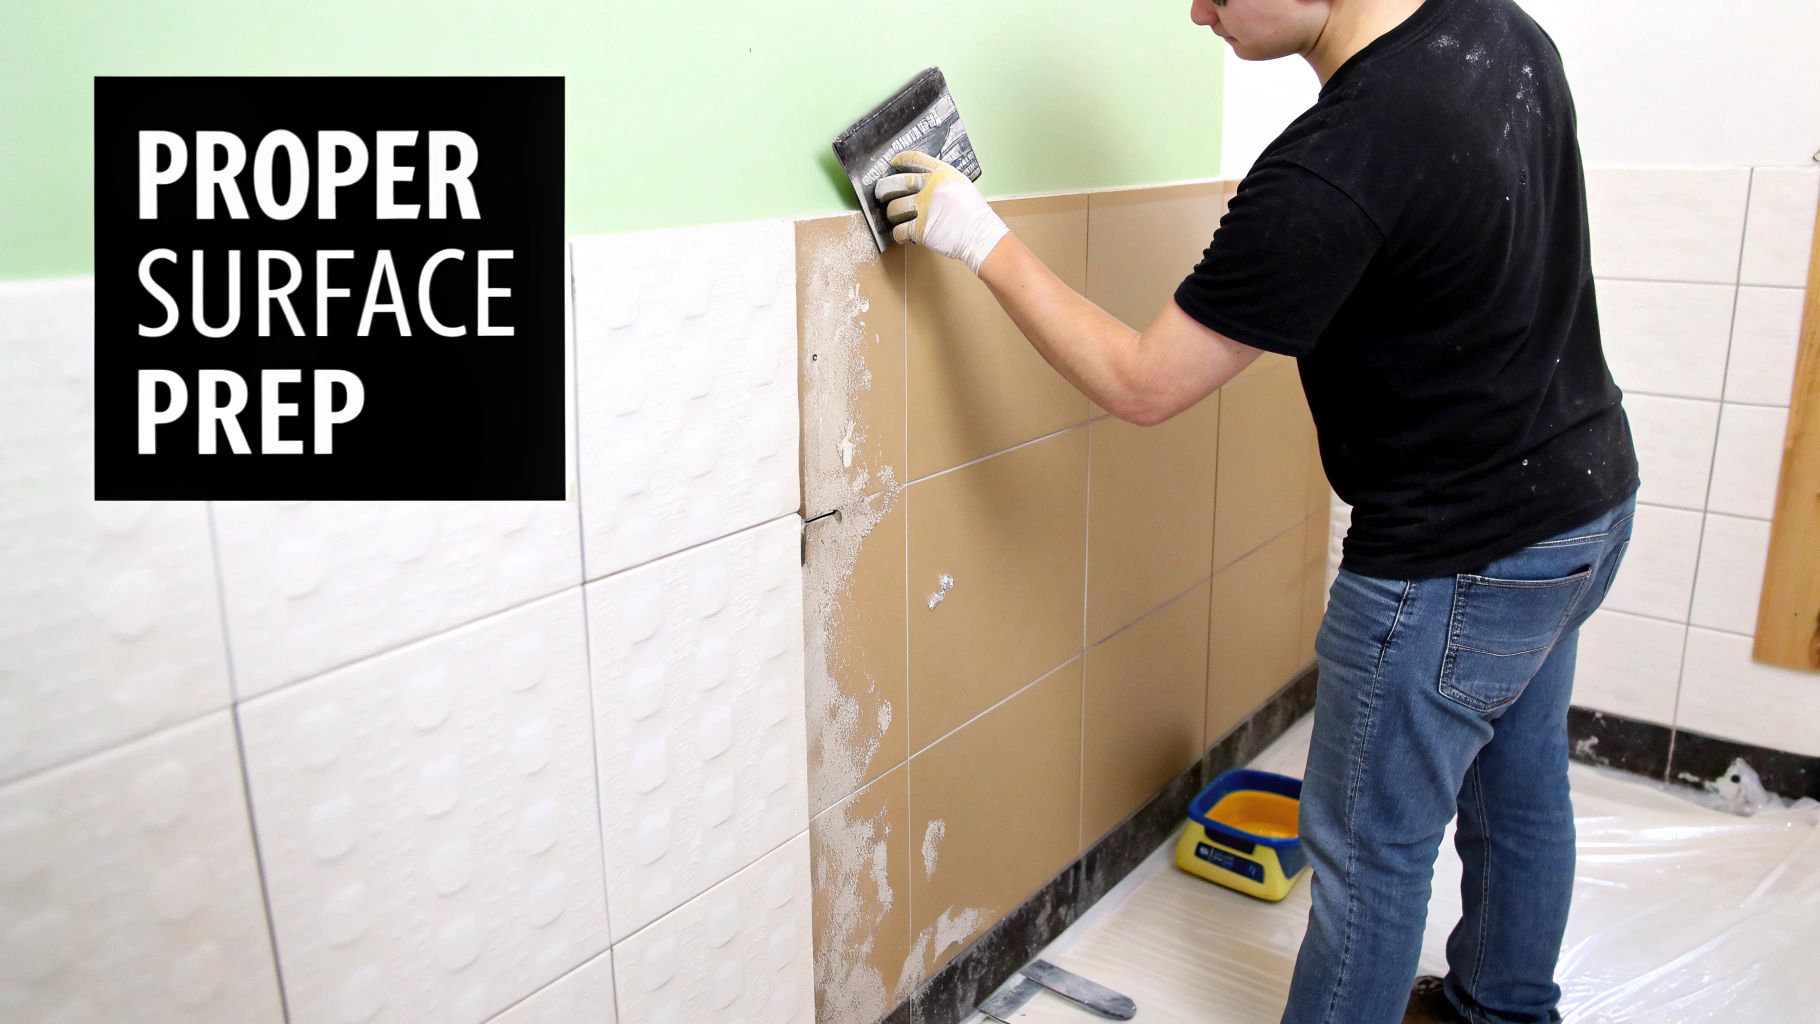
Why Surface Preparation Is a Non-Negotiable Step
Let's be honest: nobody enjoys the prep work. It's the tedious, unseen part of the job. But I can tell you from years of experience that a beautiful, long-lasting bathroom paint job is built on this invisible foundation. Skipping it is the single biggest mistake you can make, and it pretty much guarantees a finish that will peel, bubble, and fail.
Think of it like an artist prepping a canvas. Any dirt, grease, or unevenness will absolutely ruin the final masterpiece.
This goes way beyond just wiping down the walls. Bathrooms build up a unique, invisible film of soap scum, hairspray residue, and body oils. That film acts as a barrier, literally stopping your new paint from grabbing onto the wall. All that prep work is what allows your expensive, high-quality paint for bathroom walls to actually do its job.
Your Essential Prep Checklist
Before a can of paint is even opened, the goal is to create a perfectly clean and smooth surface. This is the work that separates a professional-looking result from a DIY disaster.
Here are the absolute must-dos:
- Deep Clean and Degrease: Start by washing the walls with a TSP (trisodium phosphate) substitute or even just a simple mix of mild detergent and warm water. You've got to cut through that grime and grease that causes paint to fail.
- Rinse and Dry Completely: After washing, go back over the walls with a clean, damp sponge to wipe away any soap residue. Then, you have to let them dry completely. Give it at least 24 hours—don't rush this part. A box fan can help speed things along.
- Repair Imperfections: Grab some spackling compound and fill any cracks, holes, or dings. Once it's dry, sand those patches smooth so they disappear into the rest of the wall.
- Scuff Sand Glossy Surfaces: If your current paint has a semi-gloss or high-gloss finish, new paint won't want to stick. You need to lightly scuff the entire surface with fine-grit sandpaper (around 120-grit is perfect) to give the primer something to bite into.
The secret to a professional paint job isn't the final coat—it's the prep work nobody sees. A flawless finish is 90% preparation and only 10% application. Skipping the prep is like building a house on a foundation of sand.
The Critical Role of a Quality Primer
After all that cleaning and sanding, it's tempting to just start painting. Don't do it. Applying a high-quality primer is arguably the most important step in this whole process. Primer is the ultimate middleman; it bonds tightly to the wall and creates the ideal surface for your topcoat to stick to.
It's the "glue" that holds your entire paint system together. It solves a ton of problems before they even start, making sure your chosen paint for bathroom walls performs exactly how it's supposed to.
For a high-humidity bathroom, you need to be a little picky with your primer. Look for:
- Moisture-Resistant Primers: These are specifically formulated to create a barrier against steam and condensation, stopping moisture from getting into the drywall and causing those dreaded bubbles and peeling.
- Stain-Blocking Primers: If you're dealing with old water stains, rust spots, or are trying to cover a dark color, a stain-blocking primer is your best friend. It locks those blemishes in so they can't bleed through and ruin your new paint color.
Taking the time to apply the right primer gives you better adhesion, a truer color from your topcoat, and a far more durable finish that can actually handle the tough conditions of a bathroom.
A Healthier Choice: Navigating Low-VOC and Zero-VOC Paints
When you’re painting a bathroom, the right color and finish are important, but they aren't the whole story. The air quality in a small, steamy room is a huge factor. This is where Volatile Organic Compounds (VOCs) come into play, and understanding them is key to a healthier home.
Ever notice that sharp, chemical "new paint smell"? That’s from VOCs. These are gases released from liquids and solids, including many traditional paints. In a poorly ventilated space like a bathroom, steam can trap these compounds, leading to headaches, dizziness, and respiratory irritation.
Thankfully, paint has come a long way. You no longer have to choose between performance and your health.
Low-VOC vs. Zero-VOC: What’s the Difference?
Walking down the paint aisle, you’ll see cans labeled "low-VOC" and "zero-VOC." These labels tell you how many of those chemical compounds are in the paint, helping you make a smarter, safer choice for your home.
- Low-VOC Paints: Think of these as the "light" version. They have far fewer VOCs than old-school paints, which means much less odor and better air quality. They strike a great balance between performance and health.
- Zero-VOC Paints: These are the gold standard for anyone with chemical sensitivities or a focus on pristine indoor air. While it's nearly impossible to have zero VOCs (a tiny amount can be added with color tints), these formulas contain the lowest possible levels—usually less than 5 grams per liter.
Making the switch to a low or zero-VOC paint is a simple but powerful way to create a healthier bathroom.
Why Greener Paint Formulas are Better
Choosing an eco-friendly paint isn’t just about feeling good; it brings real, practical benefits to your project and your home.
A healthier paint doesn't mean you're sacrificing quality. Modern low-VOC and zero-VOC acrylic latex paints are incredibly durable, cover beautifully, and are easy to clean. You really can get a tough, resilient finish without the harsh chemicals.
Sustainability is a massive driver in the paint world—the global market hit a staggering USD 200.3 billion in 2023. Consumers are demanding greener options, and the industry is responding. Water-based, low-VOC paints are on track to grab a 55% market share by 2025. Even better, these newer formulas can slash harmful emissions by up to 80% compared to older oil-based paints. For more details on these trends, check out this market report.
As you think about your next project, you can find more helpful insights on a wide range of home improvement topics over at our Garner Construction & Maintenance blog.
When you’re shopping, keep an eye out for third-party certifications like Green Seal. This stamp of approval confirms the paint meets high environmental and performance standards, giving you peace of mind. By choosing a certified low or zero-VOC paint, you’re creating a bathroom that’s not just beautiful and durable, but also a safer space for your family.
DIY or Hire a Pro? Making the Call
You’ve picked the perfect paint, but now comes the big question: who’s going to put it on the walls? Do you dust off the drop cloths and go it alone, or is it time to bring in the pros? There’s no single right answer, and the best path forward really depends on your budget, your timeline, and the level of finish you’re after.
The Appeal of a DIY Paint Job
Let's be honest, the DIY route is tempting. There's a real sense of pride that comes from stepping back and admiring a room you transformed yourself. Plus, you’re only paying for materials, which can save you a good chunk of change, especially on a smaller project like a simple powder room. It can be a great weekend project.
But painting a bathroom isn't quite like painting a bedroom. The constant moisture and tricky angles can turn a straightforward task into a frustrating ordeal if you’re not prepared for what’s ahead.
The Case for Bringing in a Professional
Hiring a professional painter is about more than just convenience; it’s about tapping into years of hard-won experience. They see things you might not, and they have the skills and tools to deliver a finish that’s built to last in a tough environment.
Here’s what a seasoned pro brings to the job:
- Prep Work is Everything: Pros live by the rule that a great paint job is 90% preparation. They’re masters at the tedious but essential stuff—properly cleaning the walls, patching up any dings or drywall issues, and using the right primer to block moisture.
- Knowing What Works: An expert painter has seen it all. They know exactly which paint formulas stand up to humidity and which caulks will keep a tight, mildew-free seal around your shower and sink.
- Getting it Done Right, and Fast: A job that could eat up your entire weekend is often just a day's work for a professional crew. They have a system down that gets the work done efficiently with minimal disruption to your daily life.
A professional paint job is an investment in longevity. Their expertise ensures the finish not only looks perfect on day one but also stands up to years of steam, splashes, and scrubbing without peeling or failing.
How to Decide What's Right for You
So, which way should you go? The best way to decide is to be realistic about your own project and abilities.
Ask yourself these three questions:
- Do I really have the time? Factor in everything—thorough prep, priming, waiting for coats to dry, the actual painting, and the final cleanup. It always takes longer than you think.
- Do I have the right gear? A top-notch finish depends on quality brushes, rollers, and a steady hand for cutting in those clean lines around trim and ceilings.
- How complicated is this bathroom? A small, simple half-bath is one thing. A large master bathroom with high ceilings, lots of detailed trim, or existing peeling paint is a whole different ballgame.
If the job feels a bit over your head, or if you simply want the confidence of a flawless, durable result, hiring an expert is a smart investment. For homeowners who want a perfect finish without the headaches, exploring professional interior services is the best way to make sure your vision becomes a reality.
Common Questions About Bathroom Paint
When you get down to the details of painting a bathroom, a lot of questions tend to pop up. To help you get going with confidence, we’ve put together some straightforward answers to the things people ask most.
These are the practical insights that will help you avoid the usual pitfalls and get a great-looking finish that actually lasts. Let's clear things up.
Can I Use Regular Interior Paint in My Bathroom?
You technically can, but you’ll almost certainly regret it down the road. Standard interior paints, especially the flat or matte kinds, just aren't built to withstand the daily assault of steam and condensation.
Think of them less like a protective shield and more like a sponge. They soak up moisture, which is a fast track to peeling, bubbling, and creating a perfect environment for mold and mildew. Your best bet is always a paint made specifically for bathrooms or, at the very least, a high-quality acrylic latex paint with a satin or semi-gloss finish.
How Long Before I Can Use the Shower After Painting?
This is where patience really pays off. Even though new latex paint can feel dry to the touch in a few hours, it hasn't fully "cured" yet. Curing is the chemical process where the paint hardens into a durable, tough, and washable surface.
It's best to wait at least 48-72 hours before you fire up the shower and fill the room with steam. This gives the paint film the time it needs to harden properly. For the paint to fully cure—to the point where it can handle a gentle scrub—give it up to 30 days.
During this crucial waiting period, keep the bathroom as well-ventilated as possible. A fan or an open window will do wonders to help the curing process along.
Is Primer Really Necessary on Already Painted Walls?
Yes, in a bathroom, priming is a step you just can't afford to skip. It’s the essential handshake between the old surface and your new paint. If the existing walls have any shine to them at all, a quality primer is non-negotiable—it gives the new topcoat something to grab onto.
A good primer does more than just help with adhesion, too:
- Ensures True Color: It creates a neutral, uniform base so the color you picked out looks just as good on the wall as it did on the paint swatch.
- Blocks Stains: Have any old water spots or marks? A stain-blocking primer will seal them in so they don't bleed through and ruin your new finish.
- Creates a Moisture Barrier: Most importantly for a bathroom, a moisture-resistant primer adds another critical layer of defense against humidity.
What Is the Best Way to Clean Painted Bathroom Walls?
The easiest way to keep walls clean is to start with the right paint. When you choose a scrubbable finish like satin or semi-gloss, you’re creating a smooth, non-porous surface that naturally resists grime and is simple to wipe down.
For everyday cleaning, a soft sponge with a bit of mild soap and warm water is usually all it takes. Just be sure to avoid abrasive scouring pads or harsh chemical cleaners, which can easily scratch or dull the paint’s sheen. If you’re dealing with tougher buildup like soap scum, a gentle mix of water and white vinegar works great without damaging the paint.
Ready to skip the DIY headaches and ensure your bathroom renovation is handled with professional care? From painting to a complete remodel, Garner Construction & Maintenance delivers expert craftsmanship and stress-free project management. Visit our website to learn more and schedule your consultation today.
Article created using Outrank